We now have the 1927 Pontiac Parts Book online under:
Reference -> Misc Reference -> 1927 Parts Manual
Thanks goes out to Early Times Chapter Member Jim Martin for scanning his copy of the manual to be placed on the website.

We now have the 1927 Pontiac Parts Book online under:
Reference -> Misc Reference -> 1927 Parts Manual
Thanks goes out to Early Times Chapter Member Jim Martin for scanning his copy of the manual to be placed on the website.
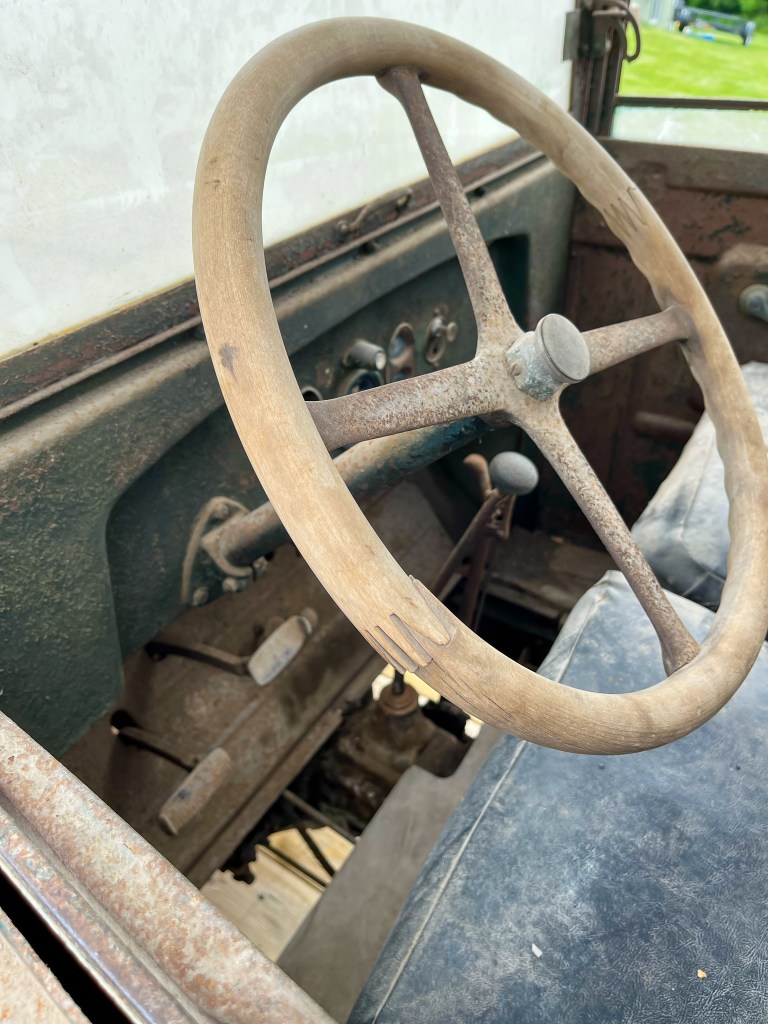
From time to time somebody visits the site with a question about a rare vehicle. This truck is surely one of them. Pontiac splithead engines were put in some early GMC trucks and here is a good example of one. The serial number on the engine shows it to be an early 1929 engine which matches the year of the truck. I believe the owner says the car has been in their family since new. I hope the owner will get the truck back on the road and will also provide progress reports. Good luck!


One of the questions that comes up quite often is one of interchangeability of engine parts on splithead (1926-1932) Pontiac engines. When these questions come up a trip to the parts manual is usually the first step. To ease this search I created a spreadsheet what lists all years of splithead engines and part numbers for the most common engine parts. A quick glance at the table shows that there are some parts that were used for several years.
The information presented here was taken from:
1935 Master List, Chassis & Body Parts, Pontiac and Oakland
There are some boxes that have question marks on them. If you know the information for these unknown areas, if you find errors, or want to comment on this information, please feel free to contact me at:
info@pontiacsplithead.com
The spreadsheet/table can also be found by using the main menu:
Reference -> Misc Reference -> 1926-1932 Pontiac Engine Specifications and Parts
I hope you find this information useful.
-Rob-
I had to do some work on my brakes so I scanned the Oakland Service Manual and uploaded Chapter 4 – Brakes for 1930-1932 Pontiacs.
Go to the main menu and click on: Reference then Service Manual


I have added the Carburetor in Relation To Service – How to Overhaul a Marvel Carburetor by the Marvel Carburetor Company. This is a very complete and clear manual describing how the Marvel carburetor works and how it is rebuilt. The data covers all the splithead era Pontiacs that used Marvel carburetors.
Additionally uploaded was the Calibration Chart which shows essential data for each year Pontiac and which Marvel carburetor was used. It also show additional information needed to rebuild and maintain these carburetors. When you open this chart you will likely have to zoom in to see the specific carburetor you are looking at.
This information can be found in the menu:
Reference-> Misc Reference->Marvel Carburetion Manual
Reference-> Misc Reference-> Marvel Carburetor Calibration Chart
Let me know if you have any problems accessing this information.
Let’s keep the splithead Pontiacs on the road!

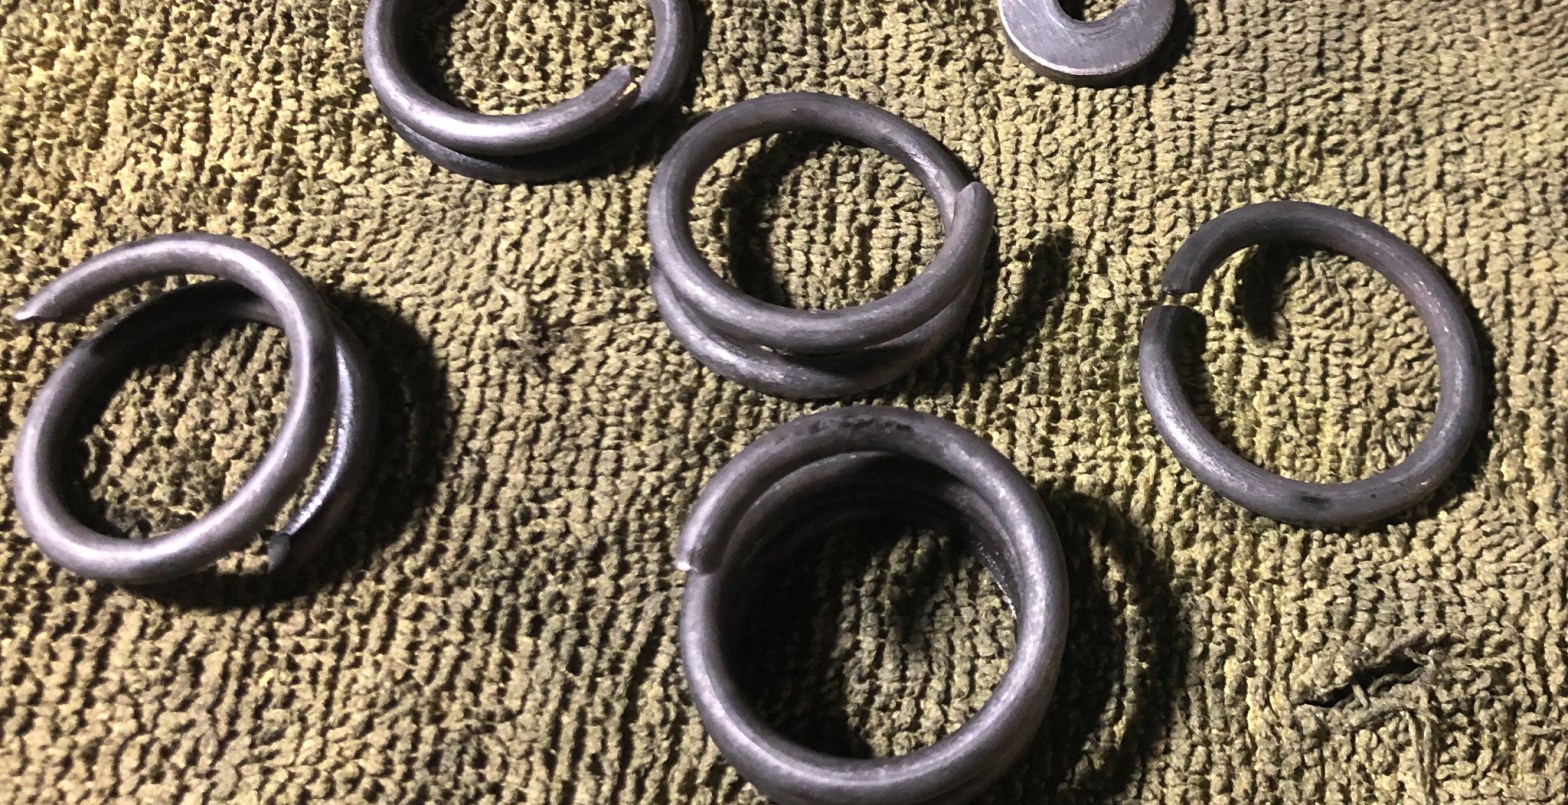
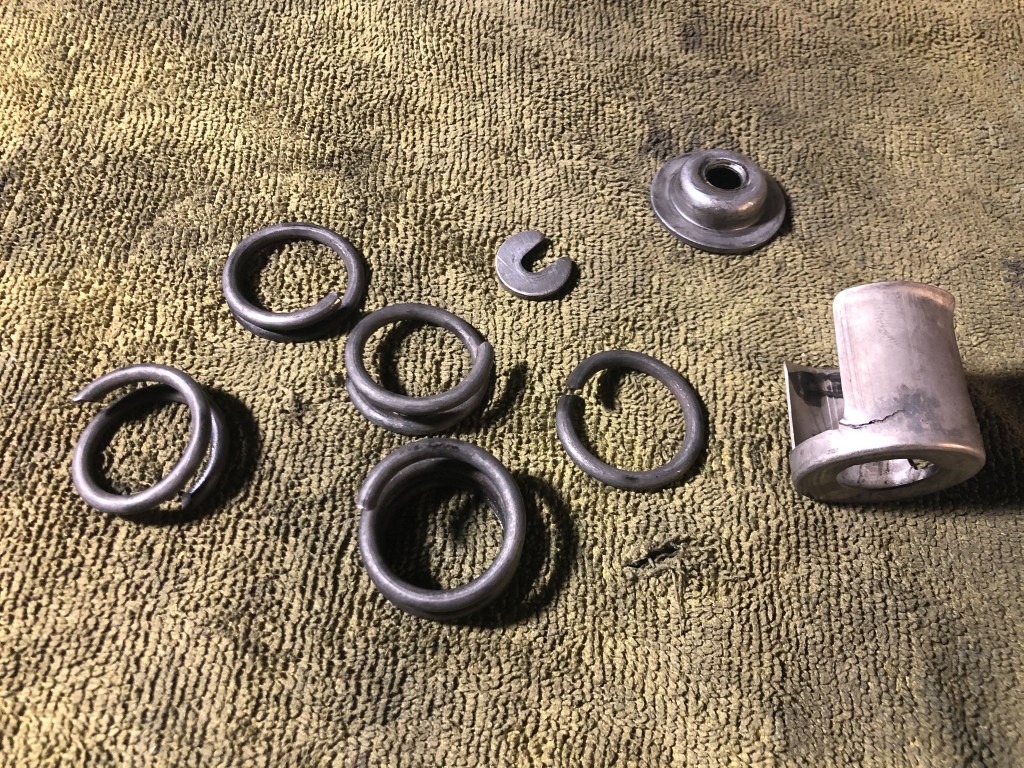
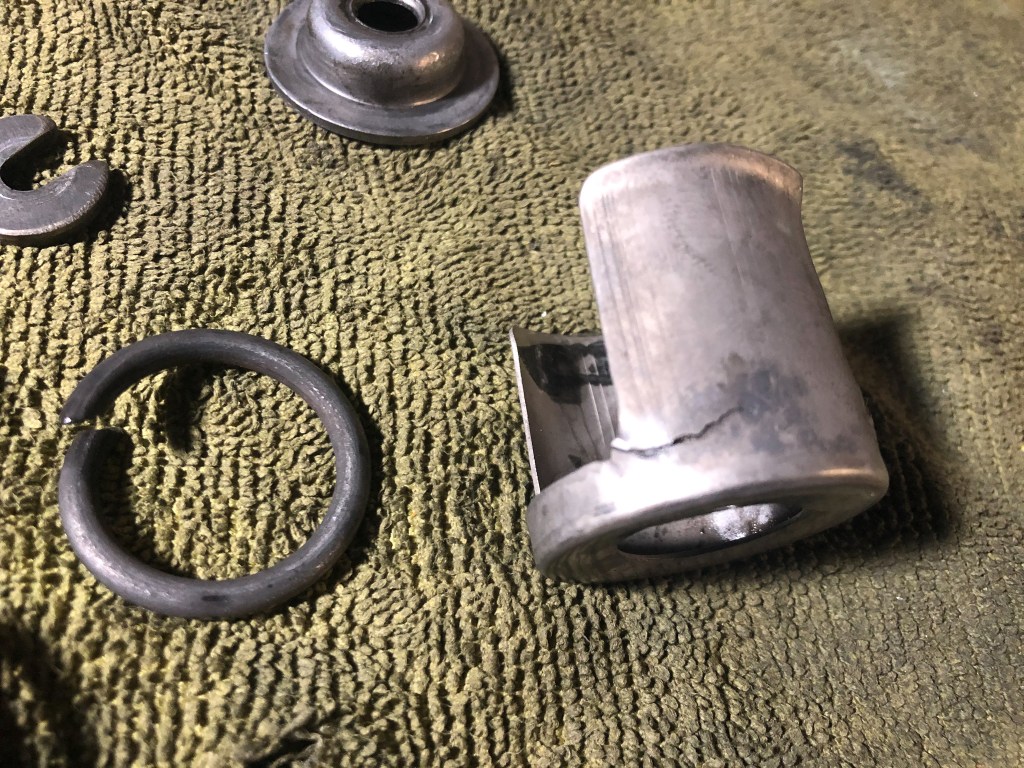
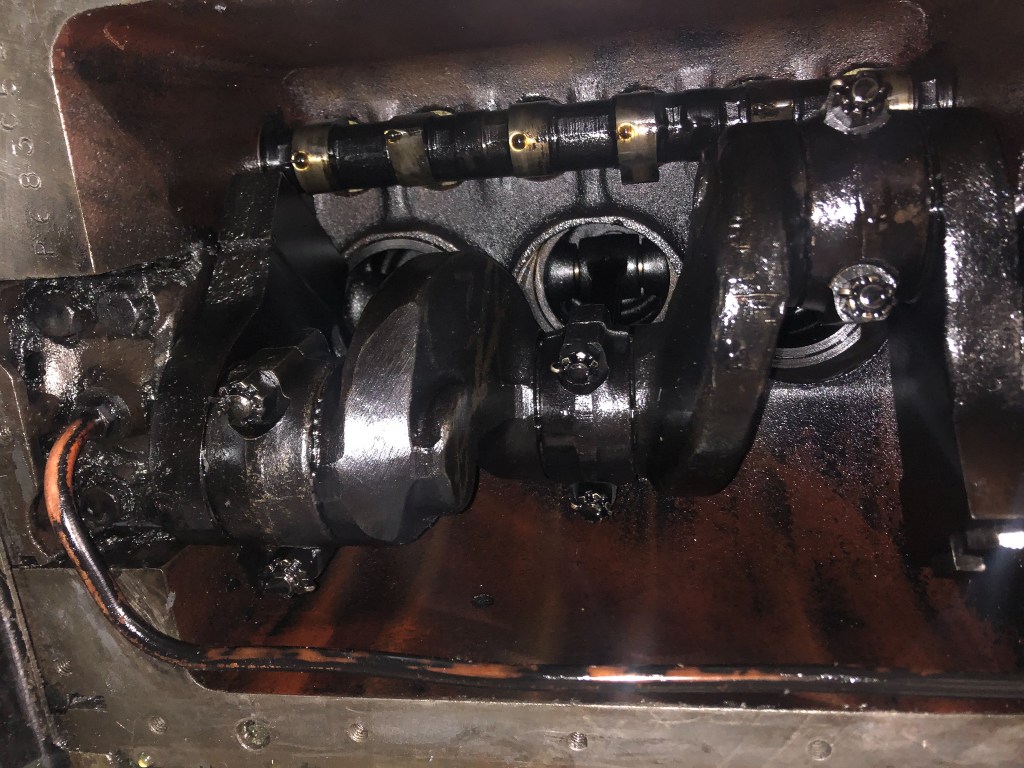
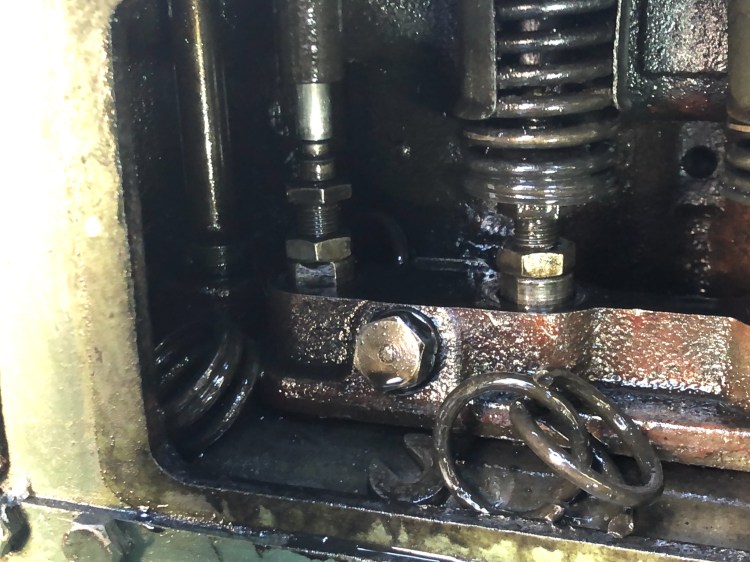
After limping home it was time to assess the damage and develop a repair plan. Once the front valve cover was removed, it was clear that the main problem was the broken valve spring on the #3 intake valve. When you have a failure like this you remember things that happened along the way and then go ‘ah ha’. I could remember when driving the car with a cold engine there would be an occasional pop through the carburetor. This was likely the broken spring not allowing the valve to retract enough or quickly enough. My first concern was if there was any other engine damage? Did any of the pieces of the broken spring end up in the pan? So the first task was to fish out all the pieces and see if everything was retrieved. As can be seen in photos below, the spring broke cleanly into 5 pieces. I was able to put it back together and see that all the pieces were retrieved. Another casualty of the failure was the spring cage. All other pieces seem to be ok.
The next decision was what to do? It would be possible to only replace the broken spring without pulling the heads but with 38,000 miles on the car, the fact that I want this car to be a long distance road car, and general curiosity, I decided to pull the heads and do a complete inspection of the valve train. This work could be accomplished with the manifolds on but it would be much easier if the manifolds were off. This fact is even mentioned in the Oakland Service Shop manual.
I first removed the front head which showed the #3 intake valve of interest. One thing that was clear is that the valve train has been repaired before. The #1 exhaust valve did not match the others and had been replaced at some point in time. Thankfully, things looked generally good.
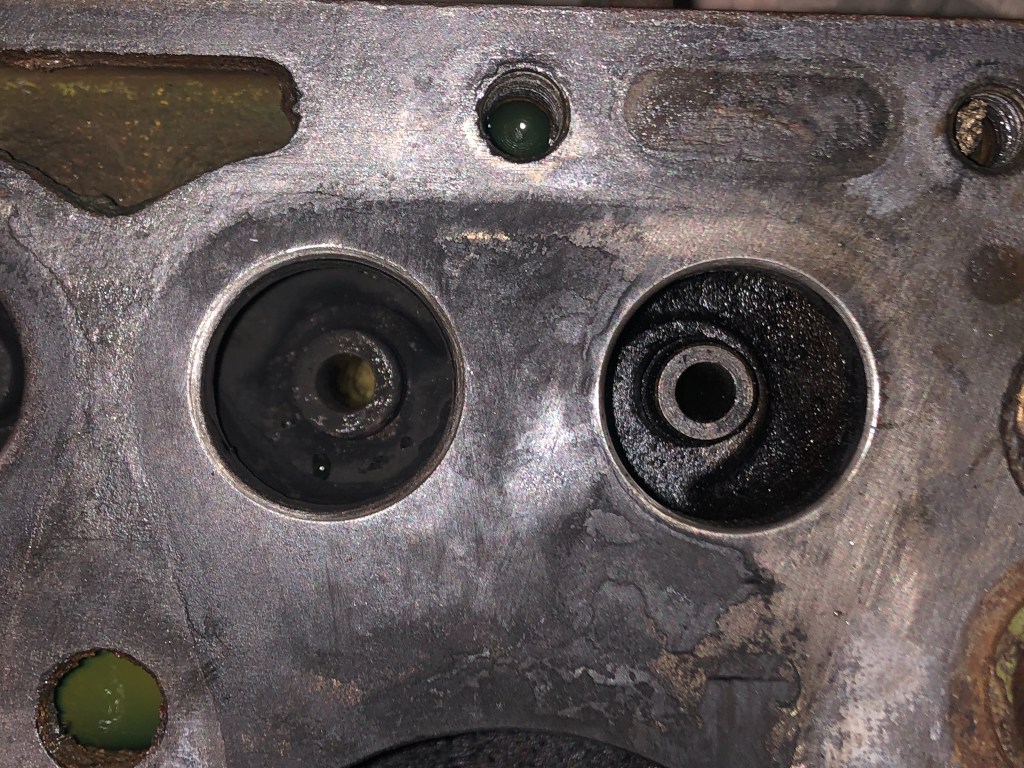
Looking at the cylinders and pistons show little ridge on the cylinder walls and only minor carbon on the pistons.

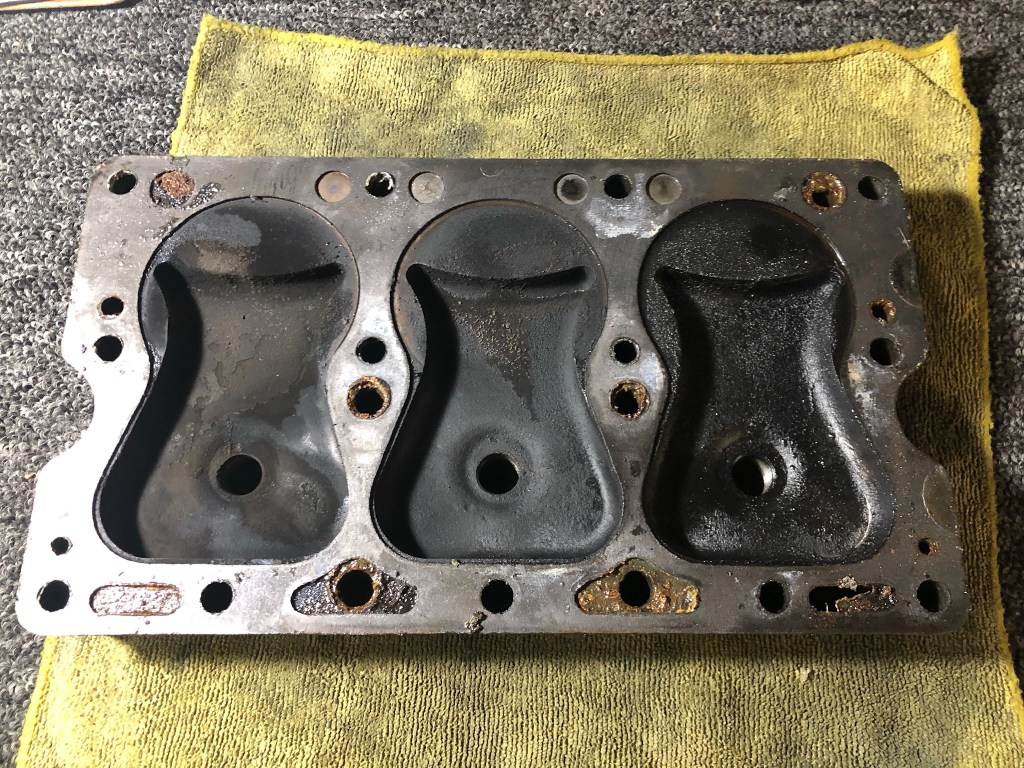
The front head was in good condition with relatively little carbon buildup. Cylinder number 3, the one where the valve spring broke, did have residue. Much of this may have occurred on the drive home with a broken spring.

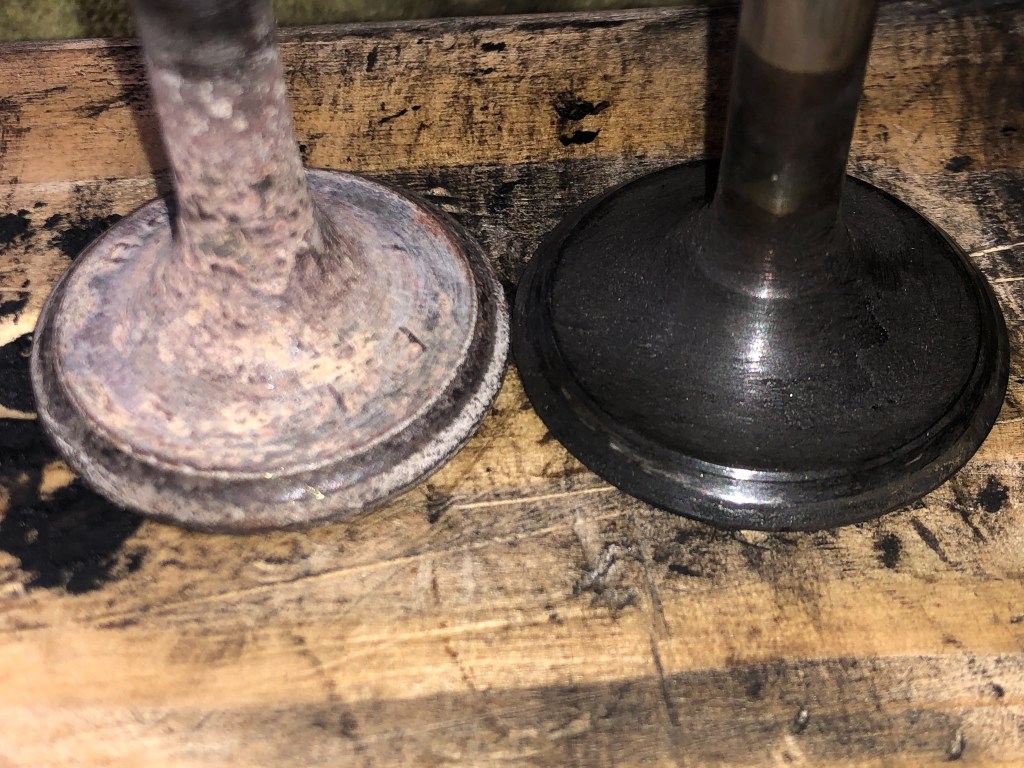
Removal of the back head showed more of the same. The intake valves looked very good but the exhaust valves showed some wear and would require more investigation to determine what should be done with them.
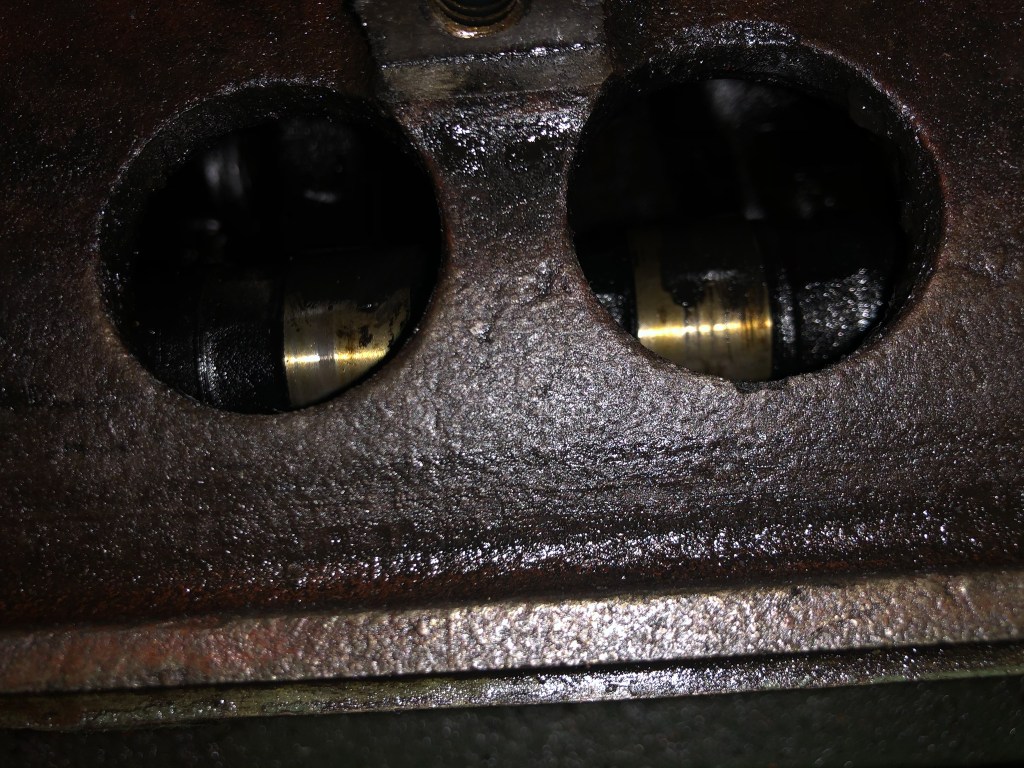
The next step was to remove the valve lifter bracket for cylinders 1-3 out and inspect the lifers and adjustors.

I used body shims that I had on hand to hold the valves up to provide clearance for the removal of the lifters and bracket.
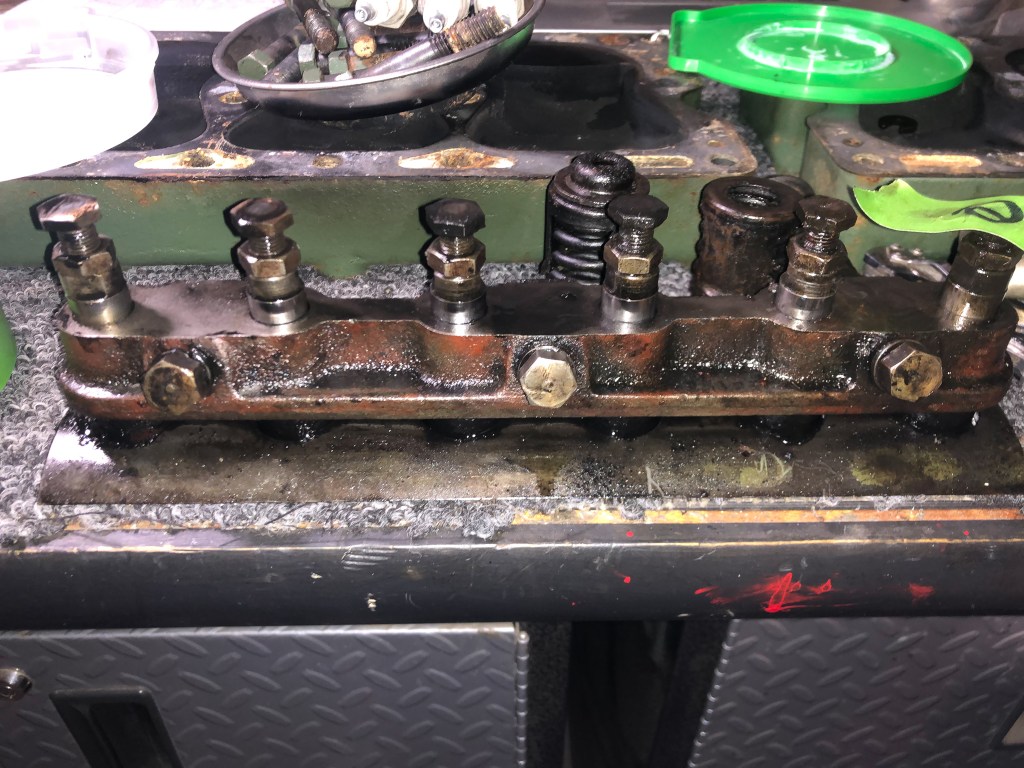
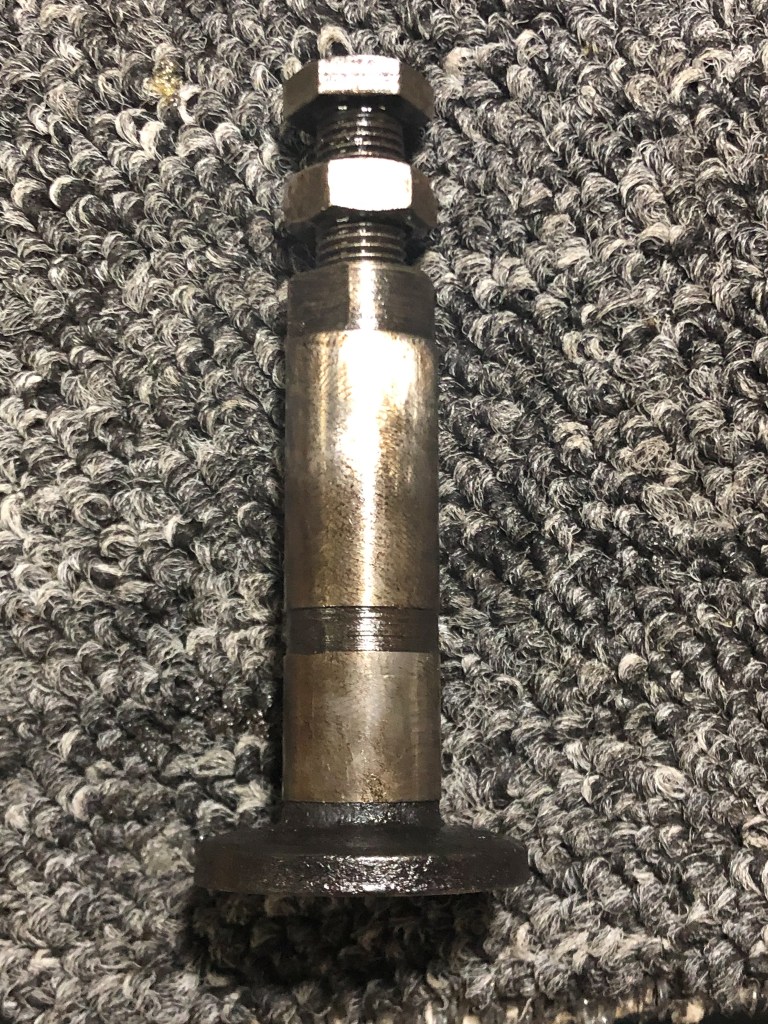
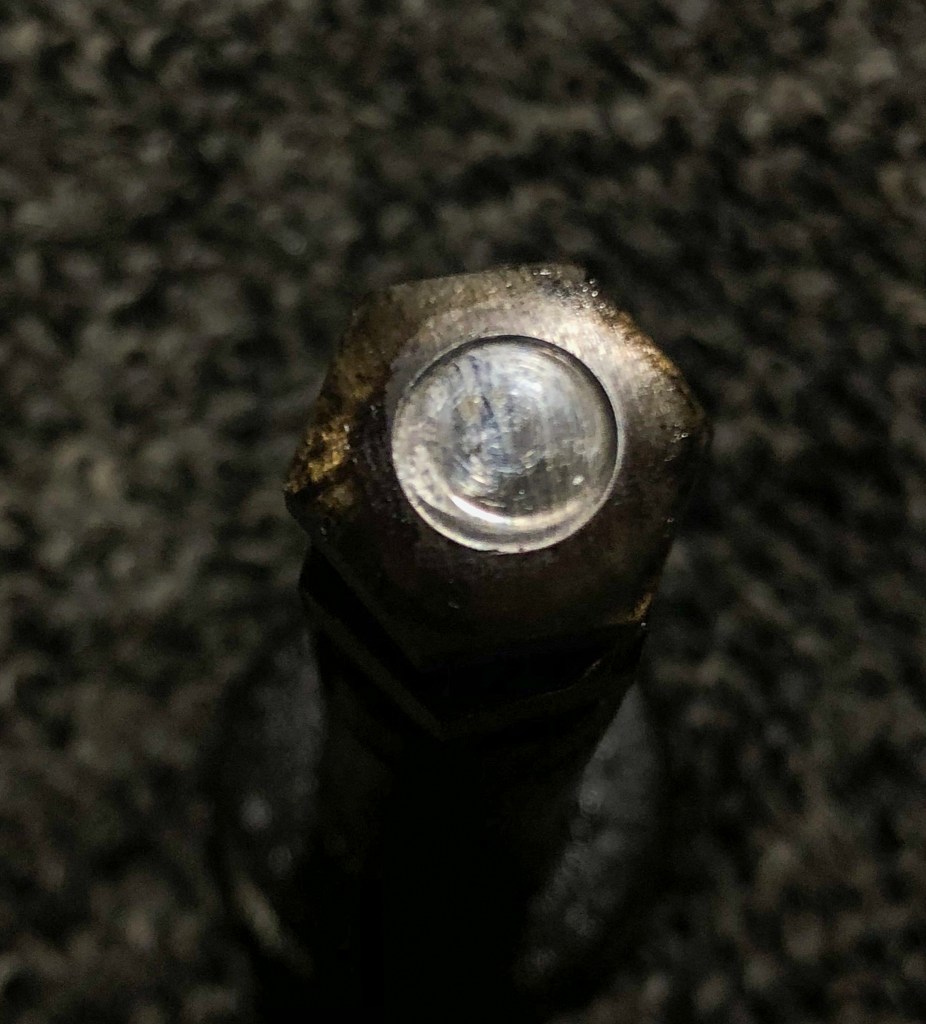
Once removed there was good news in that the lifters were not worn. They were tight in the rack and moved smoothly. However the adjustors had depressions, in some cases several thousandths deep. The condition of the rear bracket and lifters for cylinders 4-6 were similar to cylinders 1-3. The bottom of the lifters would be ground before replacing as well as the top of the adjustors before installing them. I needed to replace one adjustor which was #3 intake (failed spring). It has some threads stripped and would not turn in the lifter. This damage probably occurred during the drive home with a broken valve spring.
The next task was to remove the valves and check them out. Valve removal was easy except for #3 intake. It was damaged during the ride home. It was tight in the guide and it took a little emory tape to sand down the end of the valve stem to get it to move through the guide. One out the valve seemed fine and was reused The exhaust valves were worn to the point that they needed replacement. However, the intake valves were in very good shape and just needed to be cleaned. They were tight in the guides and no work was needed there.

The next thing to check was the valve seats. Inspecting them showed that there was no significant wear and that it would probably only be necessary to re-lap the valves into the seats and check with Prussian Blue.
With the valve bracket out it was possible to look at and feel the camshaft to see if there was any unusual wear. I was also able to see the cam from the bottom end, too, because the pan was removed to inspect the crankshaft, rods and what you could see of the pistons. The cam did not have any ridge on it and everything internal seemed acceptable. The pan did not have any significant sludge or residue in it. Also the oil did not have anything in it that would cause concern about internal bearing damage or other unusual wear.
So the final plan was:
In part 3 of this post I will document this process.
A new item has been added to the Marketing Literature area. A multi-page brochure on the 1930 Pontiac (Series 6-30B) called “An Intimate Close-up of the New Series Pontiac Big Six.


You can get to this via Menu->Reference->Marketing Literature->New Series Pontiac Six.
Enjoy!
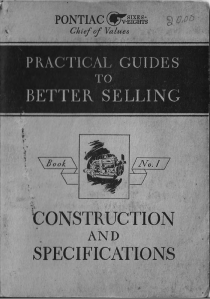
We now have a full set of the 1932 dealer booklets called “Practical Guides to Better Selling”. These books are a wealth of information covering 5 areas in separate, illustrated booklets.
These booklets are:
The links to these documents are located in the Reference -> Misc Reference section of the main menu. Here is a link to that page:
Misc Reference
You now have access to dealer brochures for 1930, 1931 and 1932 Pontiacs. These are documents rich in information on each year model. You can download them and print them out if you wish. You can find these by clicking the Reference and Marketing Literature on the top menu.
Enjoy!


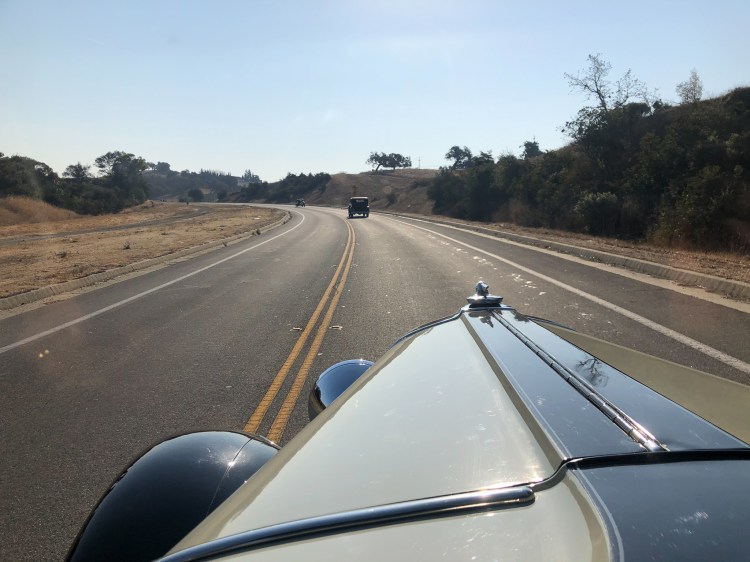
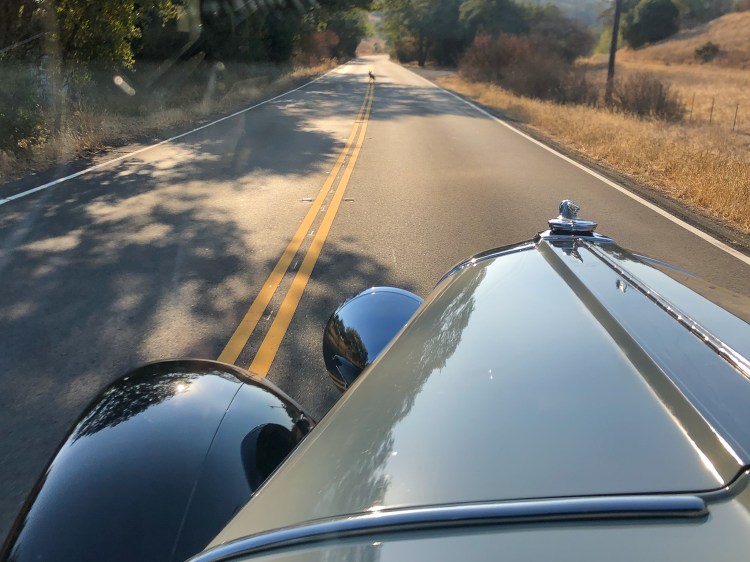
October 30, 2020 was a beautiful day for a drive with friends on the country roads south of San Jose. While most think of Silicon Valley as wall to wall tech companies, some of the roads with just a few miles of the center of this high tech world are an oasis of great driving. The day was just an impromptu journey that would be about 75 miles. The plan was for a nice social distanced drive with prewar cars and home again by lunch. The cars were a 1932 Ford Model B, a 1930 Packard 745 7 passenger sedan and my 1930 Pontiac Custom Sedan.

The 1930 Pontiac was one I acquired in 2016 and have driven almost 2000 miles. It is a great driving car with 38,000 miles on it. The one problem with the car that I was never able to sort out was that one valve, the number 3 exhaust valve, was one I was never able to properly adjust. I am familiar with splithead valve adjustment since I have owned a 1932 Pontiac for over 40 years. There was just something about this valve that seemed to be a problem. It would tap loudly on startup and usually quiet down after the car warmed up. With the valve covers off I would squirt some marvel mystery oil on the lifter and it would quiet right now for a while. The car ran so good that I hesitated to tear into it. It idled so smoothly that sometimes at stop lights I would check the oil pressure to make sure it was still running. So the valve problem took a back seat to other things that needed sorting out. I would get to that valve ‘someday’.
For those of us who have been around old cars for a while, ‘someday’ always comes. As we got to the end of a very enjoyable drive, about 15 miles from home, I heard the valve making noise. This was a bit unusual because when the car warmed up the tapping would usually go away. It continued to get worse and worse but I was able to limp home at 15 miles an hour to quite a racket. I was hearing popping through the carburetor which make me sure it was my friend, #3 valve.
Once the valve cover was removed it was obvious what the problem was. The #3 intake valve suffered a major failure of the valve spring. Plus me driving it home those last few miles managed to beat the spring to death and into several pieces.
So now ‘someday’ was today. The next installment of this story will be the assessment of damage and a plan to fix.
Stay tuned….
