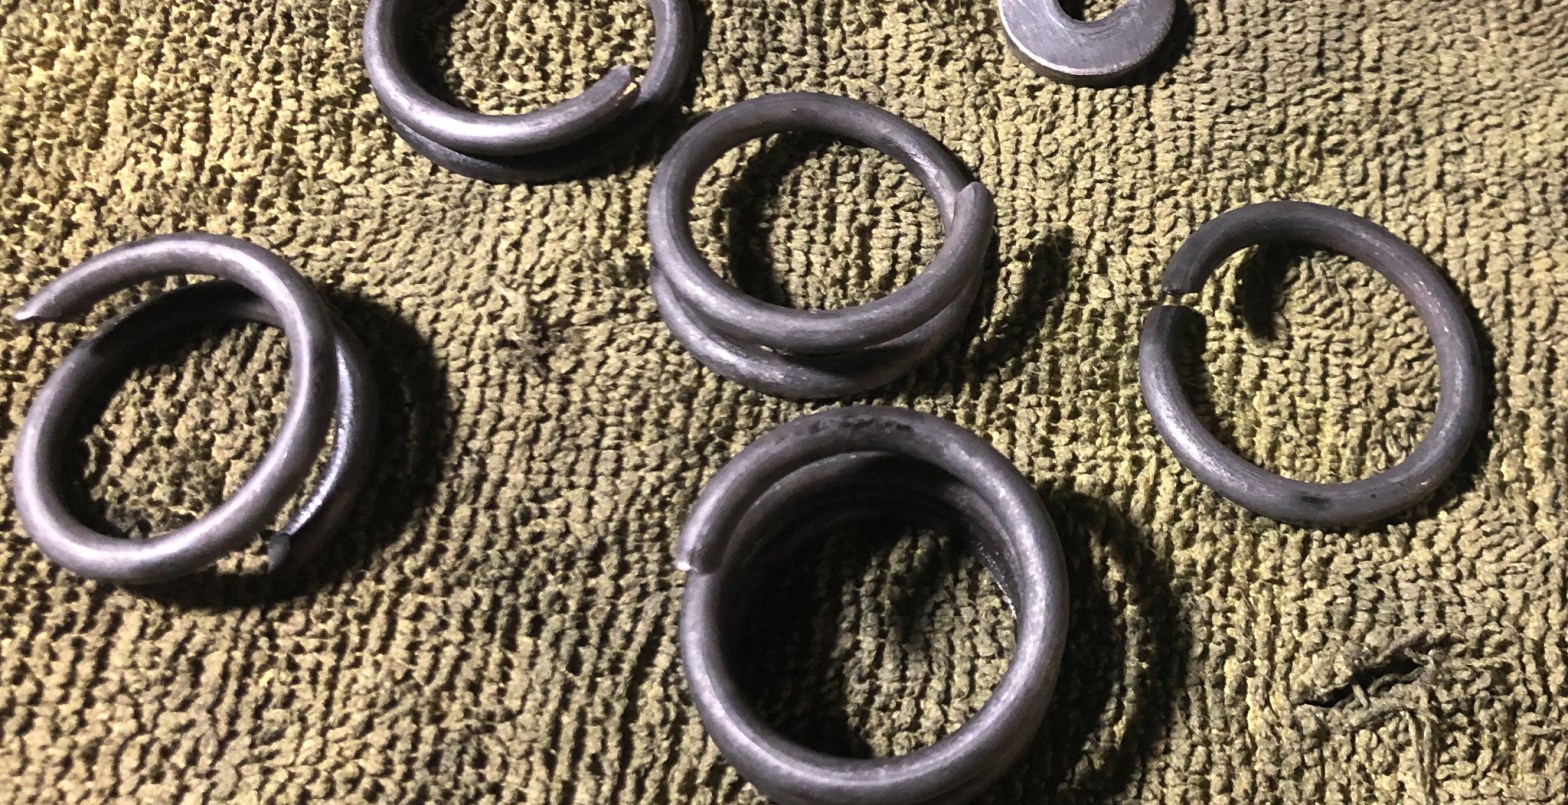
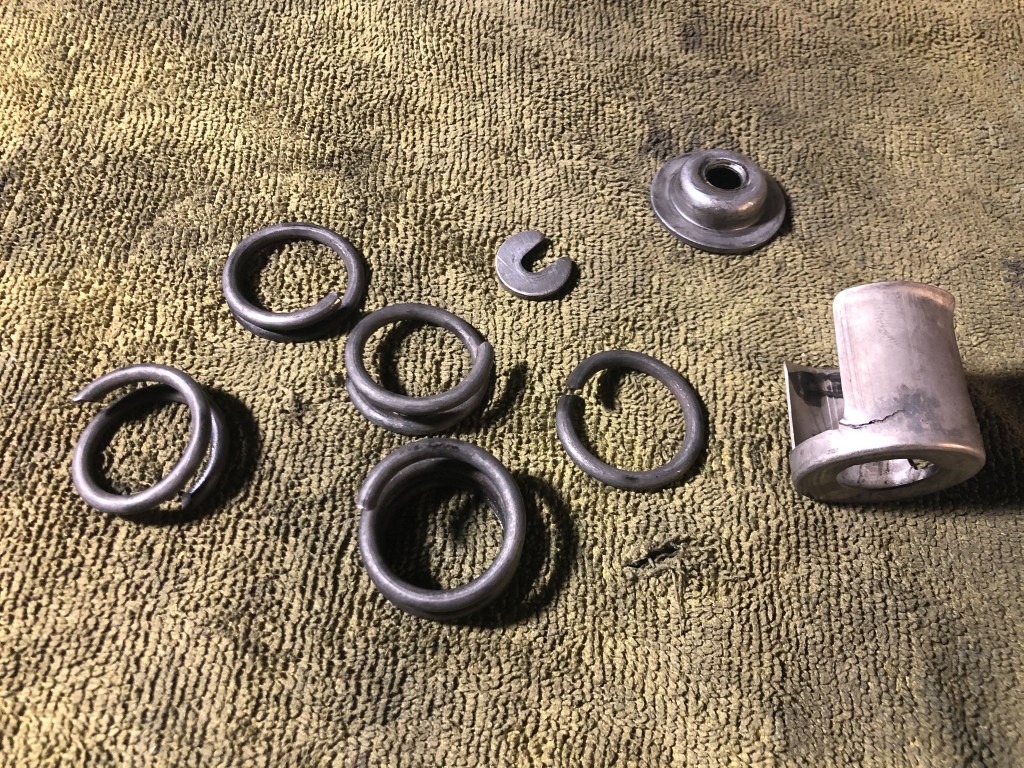
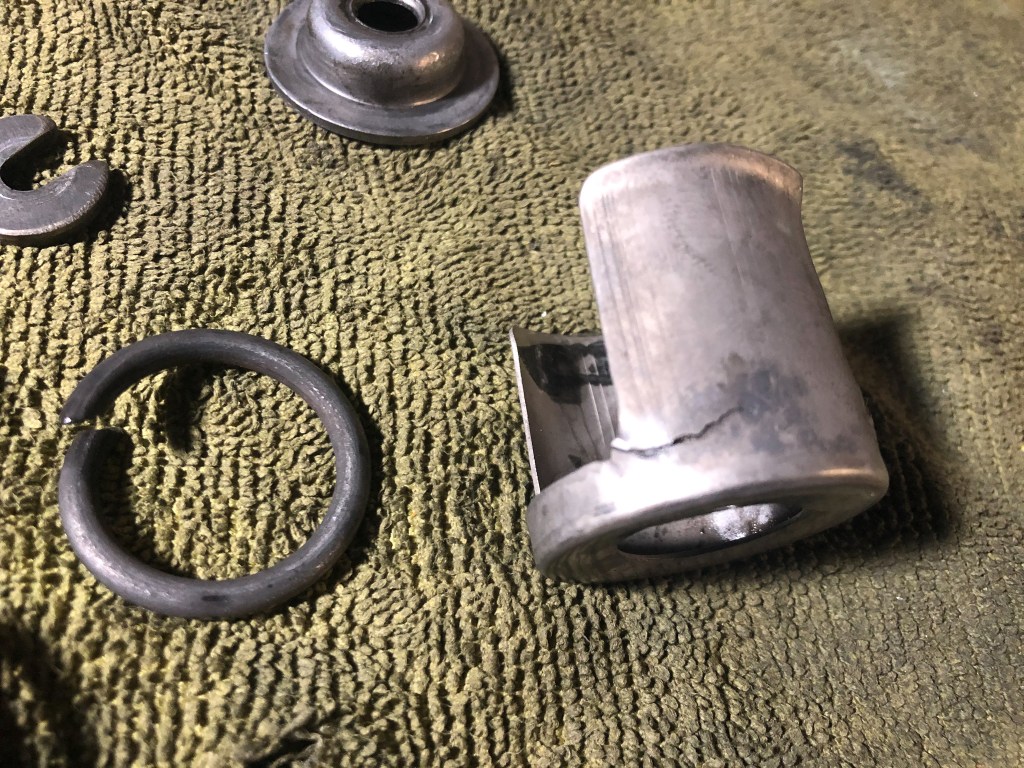
After limping home it was time to assess the damage and develop a repair plan. Once the front valve cover was removed, it was clear that the main problem was the broken valve spring on the #3 intake valve. When you have a failure like this you remember things that happened along the way and then go ‘ah ha’. I could remember when driving the car with a cold engine there would be an occasional pop through the carburetor. This was likely the broken spring not allowing the valve to retract enough or quickly enough. My first concern was if there was any other engine damage? Did any of the pieces of the broken spring end up in the pan? So the first task was to fish out all the pieces and see if everything was retrieved. As can be seen in photos below, the spring broke cleanly into 5 pieces. I was able to put it back together and see that all the pieces were retrieved. Another casualty of the failure was the spring cage. All other pieces seem to be ok.
The next decision was what to do? It would be possible to only replace the broken spring without pulling the heads but with 38,000 miles on the car, the fact that I want this car to be a long distance road car, and general curiosity, I decided to pull the heads and do a complete inspection of the valve train. This work could be accomplished with the manifolds on but it would be much easier if the manifolds were off. This fact is even mentioned in the Oakland Service Shop manual.
I first removed the front head which showed the #3 intake valve of interest. One thing that was clear is that the valve train has been repaired before. The #1 exhaust valve did not match the others and had been replaced at some point in time. Thankfully, things looked generally good.
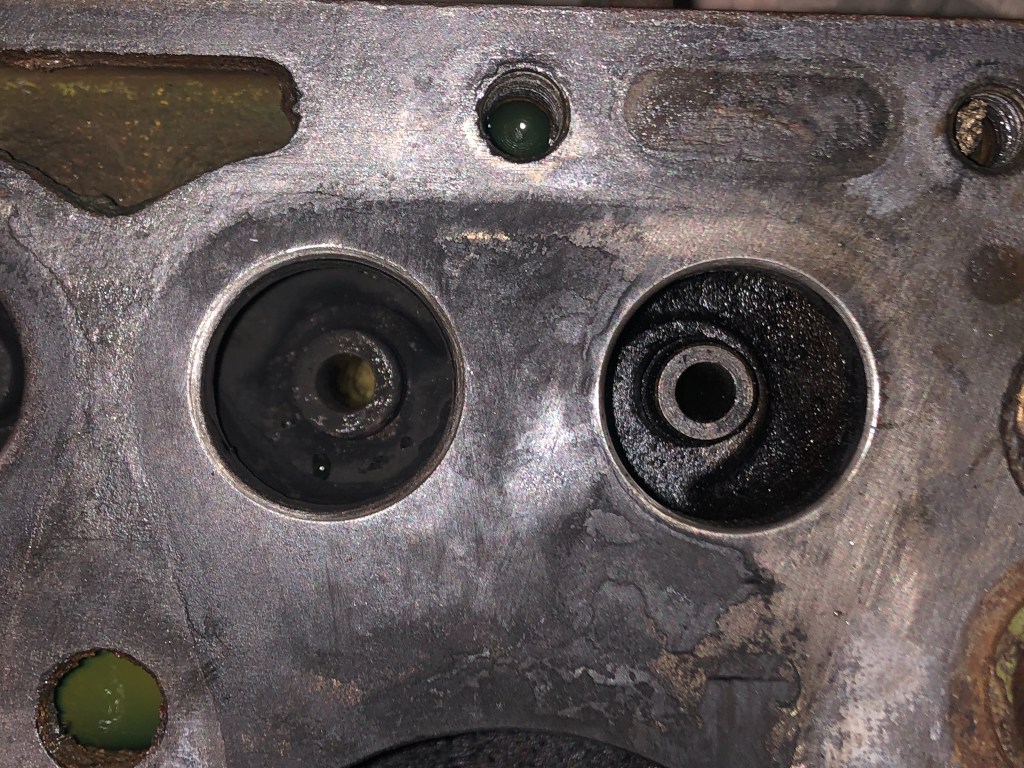
Looking at the cylinders and pistons show little ridge on the cylinder walls and only minor carbon on the pistons.

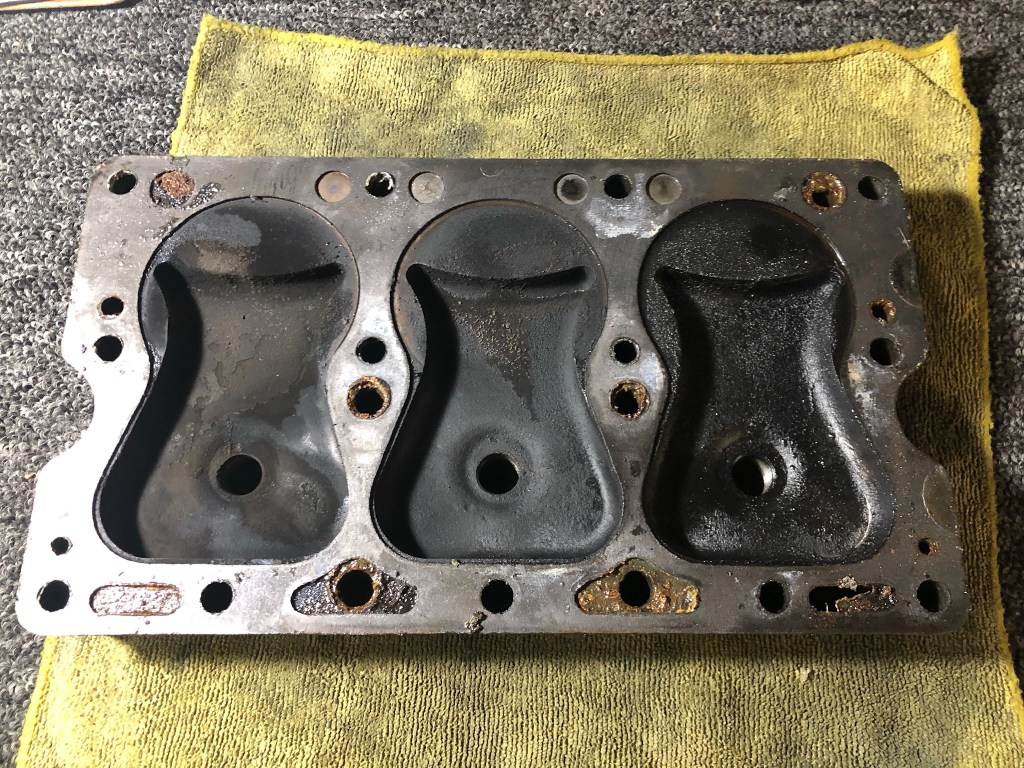
The front head was in good condition with relatively little carbon buildup. Cylinder number 3, the one where the valve spring broke, did have residue. Much of this may have occurred on the drive home with a broken spring.

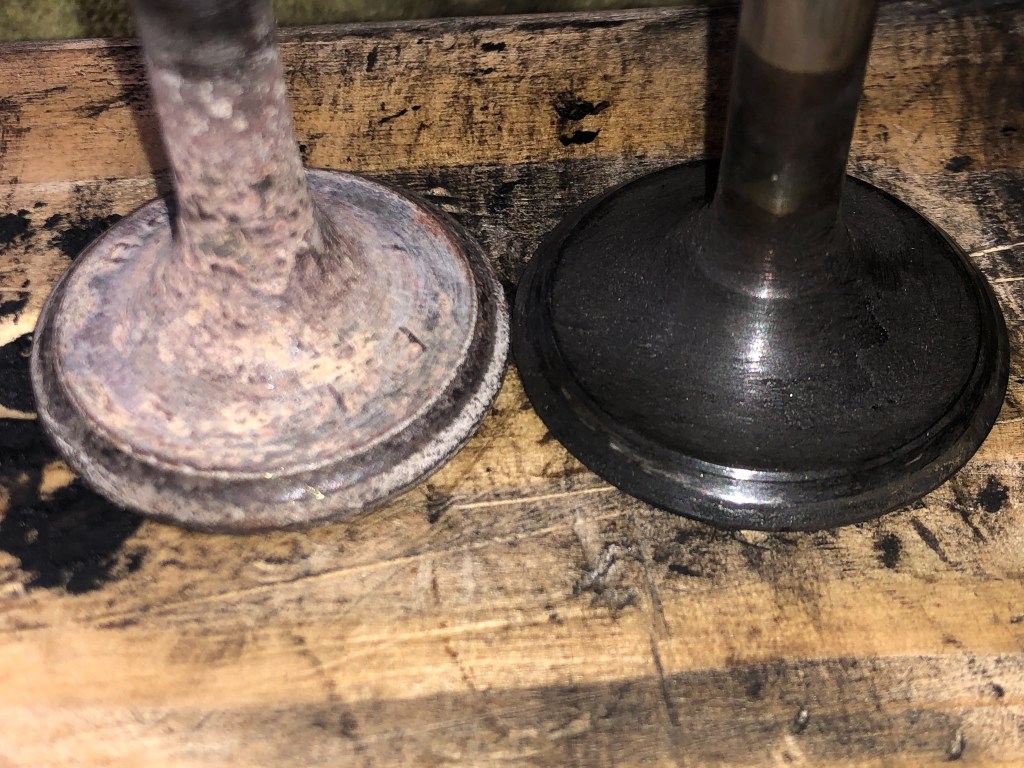
Removal of the back head showed more of the same. The intake valves looked very good but the exhaust valves showed some wear and would require more investigation to determine what should be done with them.
The next step was to remove the valve lifter bracket for cylinders 1-3 out and inspect the lifers and adjustors.

I used body shims that I had on hand to hold the valves up to provide clearance for the removal of the lifters and bracket.
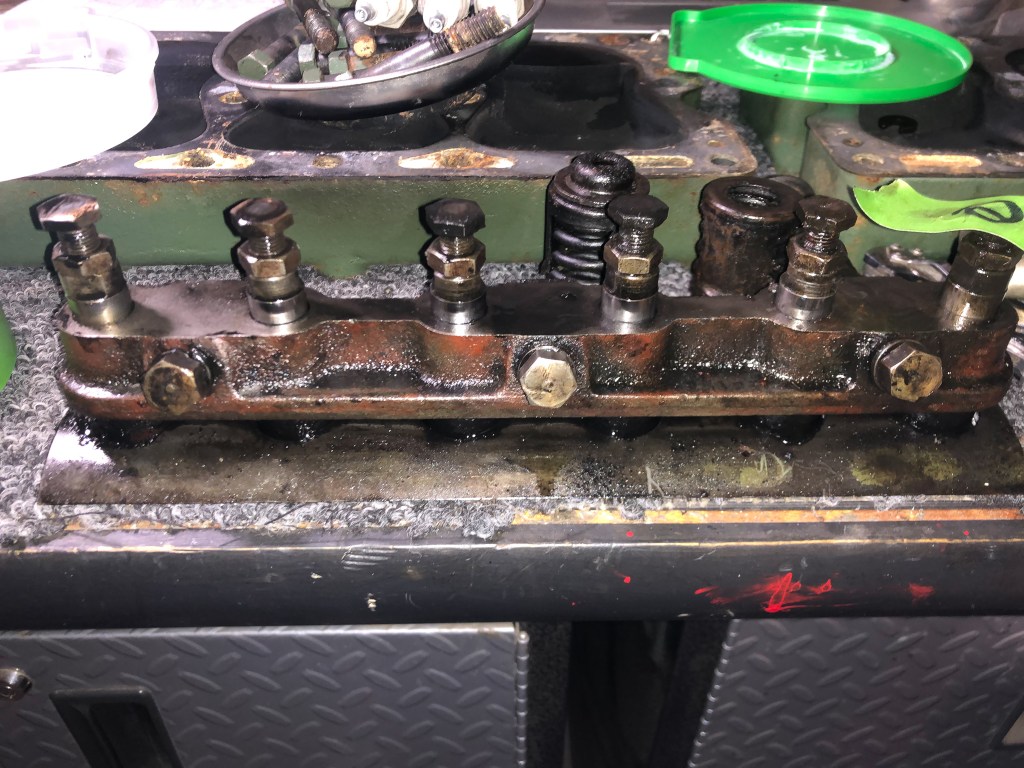
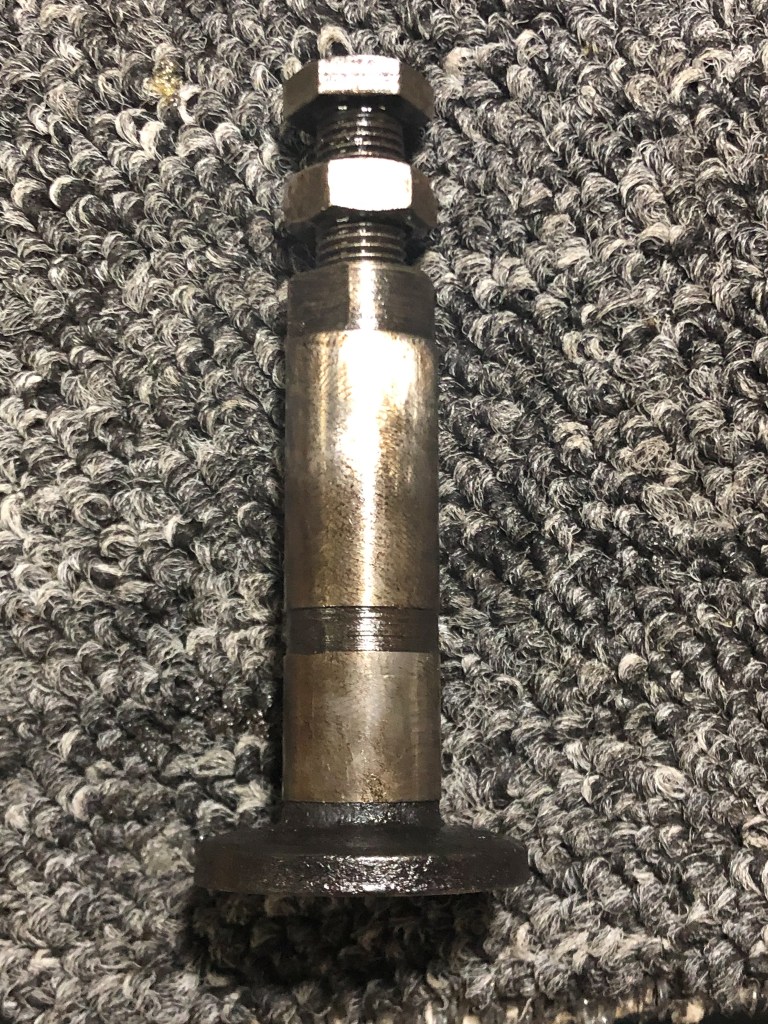
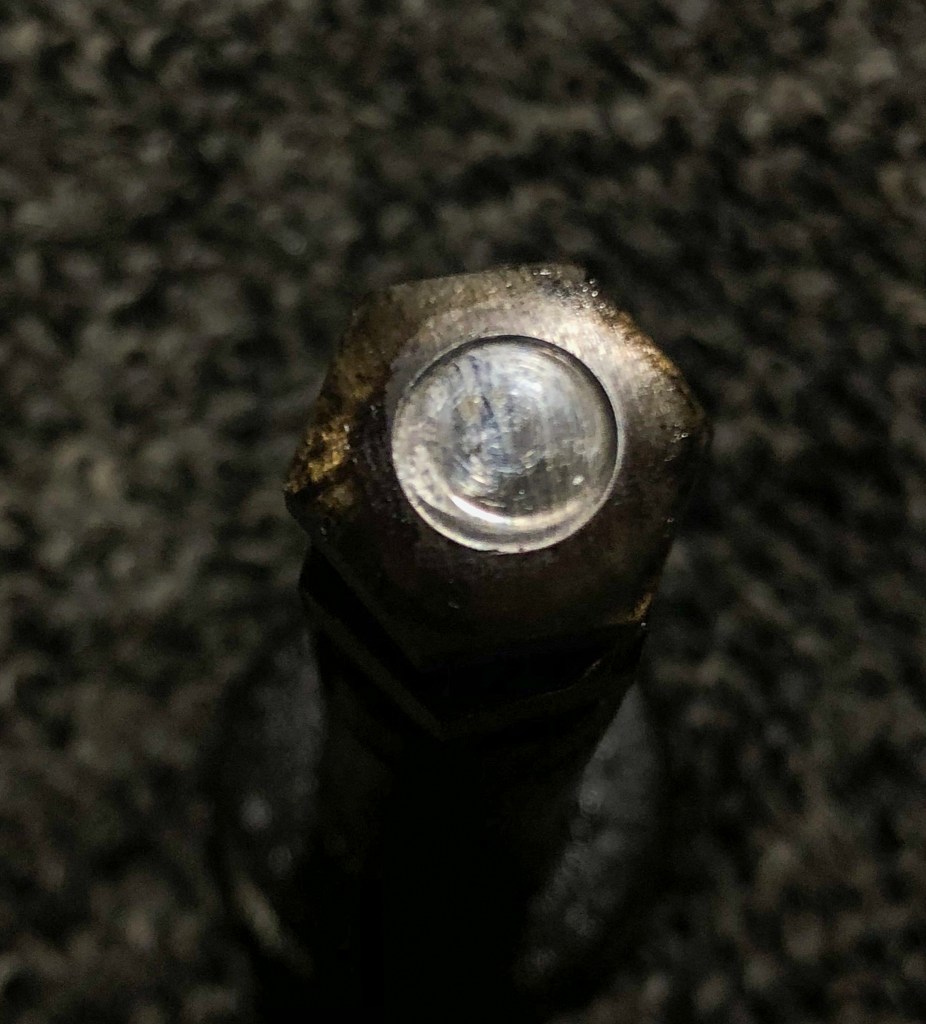
Once removed there was good news in that the lifters were not worn. They were tight in the rack and moved smoothly. However the adjustors had depressions, in some cases several thousandths deep. The condition of the rear bracket and lifters for cylinders 4-6 were similar to cylinders 1-3. The bottom of the lifters would be ground before replacing as well as the top of the adjustors before installing them. I needed to replace one adjustor which was #3 intake (failed spring). It has some threads stripped and would not turn in the lifter. This damage probably occurred during the drive home with a broken valve spring.
The next task was to remove the valves and check them out. Valve removal was easy except for #3 intake. It was damaged during the ride home. It was tight in the guide and it took a little emory tape to sand down the end of the valve stem to get it to move through the guide. One out the valve seemed fine and was reused The exhaust valves were worn to the point that they needed replacement. However, the intake valves were in very good shape and just needed to be cleaned. They were tight in the guides and no work was needed there.

The next thing to check was the valve seats. Inspecting them showed that there was no significant wear and that it would probably only be necessary to re-lap the valves into the seats and check with Prussian Blue.
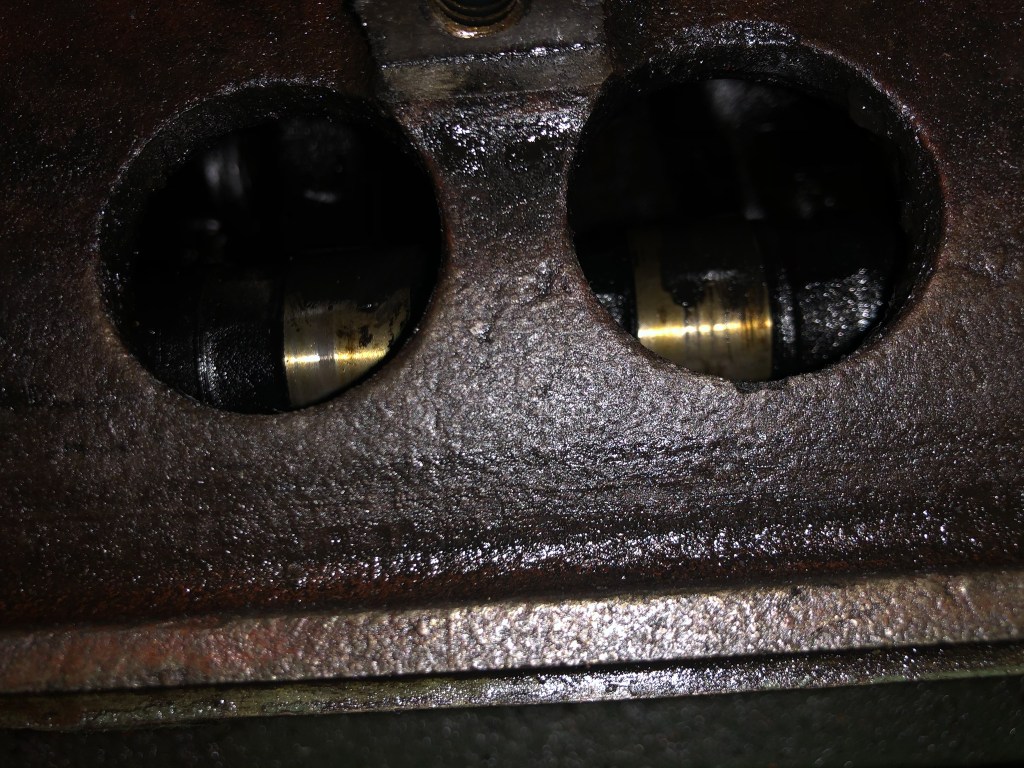
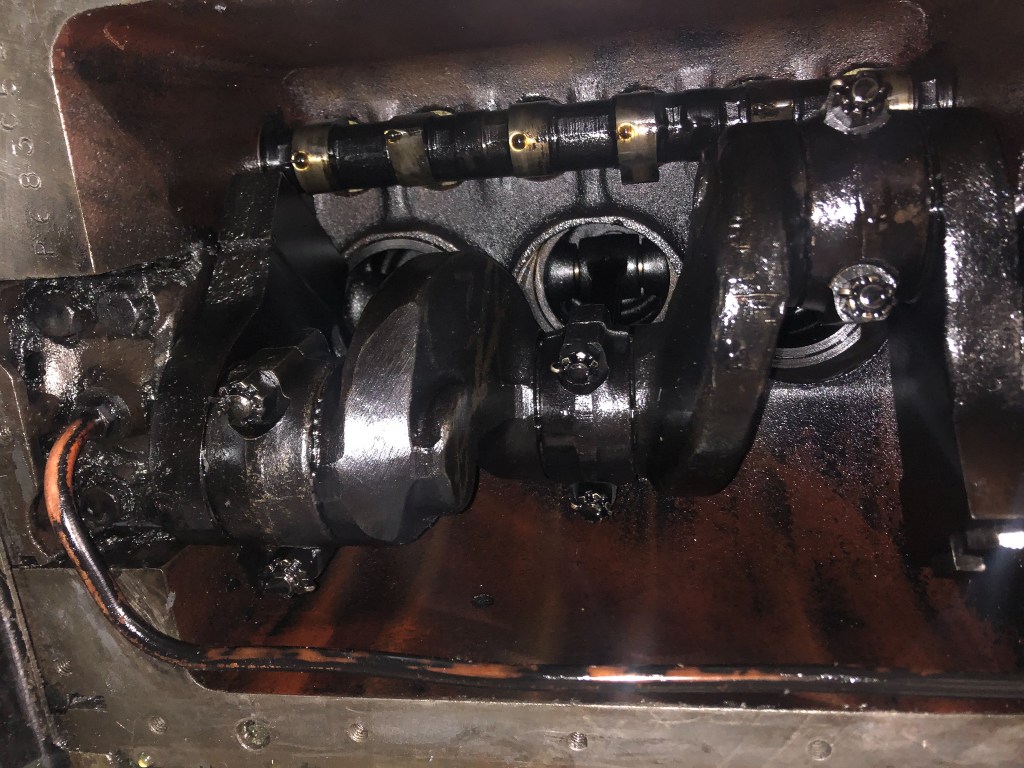
With the valve bracket out it was possible to look at and feel the camshaft to see if there was any unusual wear. I was also able to see the cam from the bottom end, too, because the pan was removed to inspect the crankshaft, rods and what you could see of the pistons. The cam did not have any ridge on it and everything internal seemed acceptable. The pan did not have any significant sludge or residue in it. Also the oil did not have anything in it that would cause concern about internal bearing damage or other unusual wear.
So the final plan was:
- Clean and lap in the intake valves.
- Acquire new exhaust valves and seat by lapping.
- Grind the bottom of the lifters so that they rotate as they contact the camshaft.
- Grind the tops of adjustors to remove depression.
- Adjust valves and put the car back on the road.
In part 3 of this post I will document this process.

I have a 30 Pontiac split head. I need to know what goes in the large hole in the rear tappet cover. It’s the one with a baffle on the inside. You can call me at 391-529-4242
LikeLike
It is a vent tube. Air comes in on the driver side through the oil fill pipe, flows through the crankcase, and out the tube that connects to the rear valve cover. It comes out of the valve cover and goes straight down through the side pans.
LikeLike